Storing Fresh Apples
Proper storage is key to a good apple. I like mine crisp and tart, and within just a day or two at room temperature, apples will begin to lose both these characteristics. Grainy apples. Blech. After about a week or so at room temp, they begin to rot. However, if you can keep your apples at just a smidge above freezing temps – for example in your fridge or a really cold root cellar – your apples will keep that fresh-picked flavor for at least a month and remain good for eating and baking for several months. Check your apples periodically to cull any that seem to be going bad more quickly. If they’re still good enough to salvage, use those to bake, freeze, or dehydrate. I often catch mine as they get wrinkly (but not rotten) when they’re still technically usable.
How to Enjoy Your Apples
Fresh: Of course eat them fresh! Apples are a perfect snack solo or alongside sharp cheddar cheese, nuts, nut butter, toasted pumpkin or squash seeds.
Dehydrated Chips: Dehydrate any apples that are still good but not as crisp and tasty as you’d like: Slice them about 1/8 inch thick for perfect dehydrating. No need to dip in lemon juice, but sometimes I like to sprinkle them with cinnamon and/or nutmeg. (These chips also make a nice tea addition alongside cinnamon sticks, nutmeg, a few whole cloves, and perhaps some vanilla rooibos. I call this Pie Spice Tea. Pear chips work well, too.) A student once brought me dehydrated apples that she first dipped in cinnamon sugar. OMG, they were amazing, like candy. Shannon and I gobbled up the bag in about five minutes, and he often begs me to make them at here… but since we do enjoy plain apples, and we really don’t need more sugar, they’re a rare treat.
Applesauce & Fruit Leather: Applesauce dehydrates nicely on parchment paper or fruit leather sheets, and it can also be mixed with other fruit purees to make them chewy and roll-able. Unsweetened is nice, but oddly this one tastes much better sweetened than not, and for the aforementioned reason of not needing more sugar in our lives, I don’t make applesauce fruit leather as often as apple chips. I do make regular applesauce every year or two to can or freeze in small jars (we don’t use it that often… sometimes in baking or alongside pork chops). I almost never peel my apples when making applesauce and instead put it through a food mill. (You’ll find the more detailed recipe below.) I find the recipes turn out just as good, if not better (and certainly more nutritious and less wasteful)! If you do happen to peel apples, the skins are good dehydrated into a snack.
Freeze: Frozen sliced apples keep well in a vacuum bag to pull out as needed for baked goods (apple squares, pie, crisp, applesauce…). Peeler-corer-slicer machines are handy for prep. KitchenAid also makes a nice attachment that peels, cores, slices, and/or spiralizes – it’s one of the better spiralizers out there, but it isn’t cheap. Note that if you bake your sliced apples thoroughly (at least when working with macs and cortlands), you don’t need to peel them at all. Less work and waste, more nutrition!

My Favorite Easy Apple Recipes
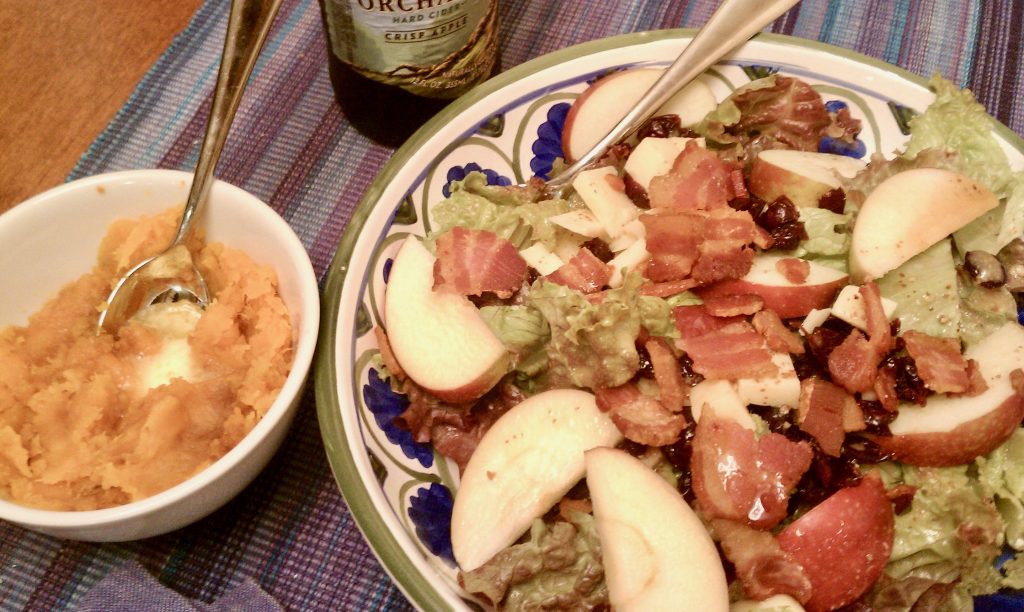
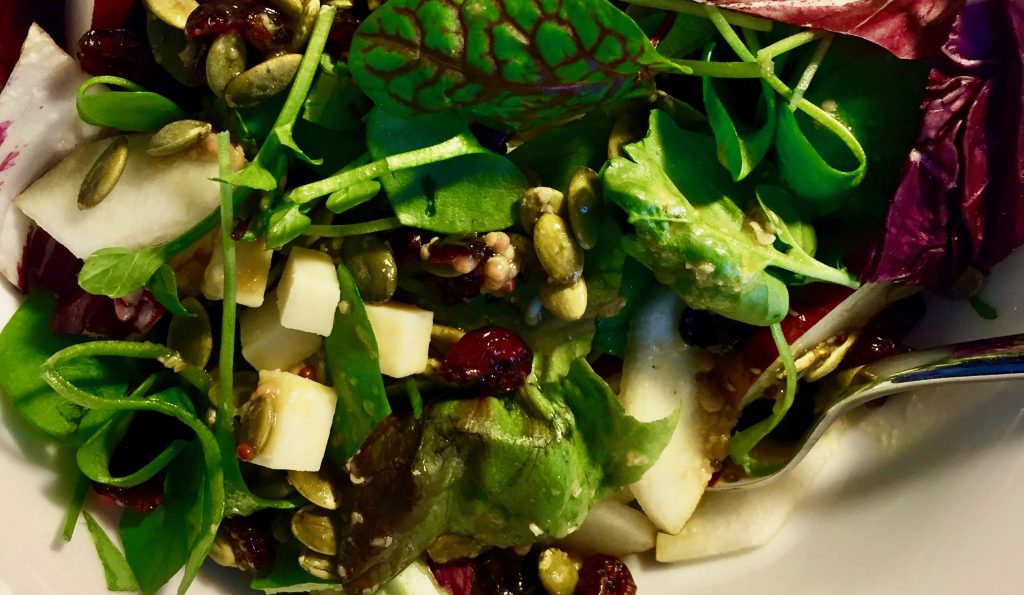
Apple, Bacon & Cranberry Salad with Maple Mustard Dressing
This is my riff off of a delicious salad at the Barley House, which goes great alongside mashed kuri squash or pumpkin soup and a glass of hard cider. Serves 2.
Salad
• 1 small head of crisp lettuce, torn into bite-sized pieces
• 2 small apples, sliced
• 1/4 cup dried cranberries
• 1 ounce sharp cheddar, in small cubes
• Topping Ideas: crumbled bacon, toasted nuts or seeds (I use pepitas), salmon
Maple-Mustard-Fire Cider Dressing (larger batches store well!)
• 1 tablespoon maple syrup
• 1 tablespoon gourmet dijon mustard
• 1 tablespoon olive oil or other oil (olive will solidify in the fridge)
• 1 tablespoon fire cideror apple cider vinegar
Divide the lettuce between two large bowls. Cover with apples, cranberries, and cheddar. Whisk together the maple syrup, mustard, olive oil, and Fire Cider (or vinegar) – a bullet blender works well – and drizzle it over both the salads. Add any extra toppings, like salmon, nuts, seeds, or bacon.
Mini-Apple Crisps
In our house, we fondly refer to apple crisp as “crack” because we will eat nothing else until its gone. One-cup ramekins help us keep portions in check and also makes it easy to make up a couple crisps for dinner quickly. I can even make just one or two in my toaster oven, but that will vary toaster to toaster – be careful that the top doesn’t burn. Makes two. Multiply for more.
• 3 apples, chopped (skins on, about 1/2 inch chunks)
• 1 1/2 powdered cinnamon, divided
• 4 tablespoons butter, melted
• 3 heaping tablespoons quick oats
• 3 heaping tablespoons whole wheat pastry flour (ie: Brookford Farm’s)
GF folks could substitute oat flour or some other GF flour
• 2 heaping tablespoons dark brown sugar
• 1/4 teaspoon powdered cloves
Preheat the oven to 400 degrees. Fill two one-cup ramekins with the apples almost to the top, sprinkle with 1/2 teaspoon of cinnamon. In a bowl, combine butter, oats, flour, sugar, and cloves with a fork or pastry cutter until fully incorporated. Divide and press into the tops of each ramekin. Bake until the apples are mushy when pierced with a knife and the crisp begins to get a golden hue, about 30 minutes.
Apple Steel-Cut Oatmeal
A few minutes of prep the night before makes this steel-cut oat recipe a snap. This makes a LOT of oatmeal – about 4-6 cups – for several days worth of breakfasts reminiscent of apple crisp. Also great as an afternoon snack.
• 1 cup steel-cut oats
• 3 1/2 cups water
• 2 apples, grated (skin on)
• 1/2 cup maple syrup, or to taste
• 1 teaspoon cinnamon
At night, bring the oats, water, and grated apples to a boil. Simmer for about 10 minutes, stir in the maple syrup and cinnamon. Let sit in the fridge overnight (it will finish cooking and soak up the remaining water) to enjoy in the morning.
Easy Applesauce
A food mill makes applesauce more nutritious and easy to make. You can use the water bath method to can your applesauce, or just freeze it.
• Apples, cut into quarters (leave skins and seeds) – enough to nearly fill a gallon pot
• 1 cup water
• 1 cup sugar, or to taste
• 1/4 cup teaspoon cinnamon, or to taste
• 1 teaspoon ground cloves, or to taste
Put apples and water in a pot and simmer, mashing periodically, until all the apples are soft and cooked, plus a little extra time, about 30-60 minutes total. Process it through a food mill and return the sauce to the pan. Season to taste.
Clinical herbalist Maria Noël Groves sees clients and teaches classes at Wintergreen Botanicals Herbal Clinic & Education Center in Allenstown, New Hampshire.
The statements made on this blog have not been evaluated by the FDA and are not intended to diagnose, prescribe, recommend, or offer medical advice. Please see your health care practitioner for help regarding choices and to avoid herb-drug interactions.
This blog originally appeared on the Concord Food Co-op site and has been adapted with permission.


